
First-time setup
The first time you open ASIST, you go through nine screens in order. Screens that your way of talking does not need are skipped. At the bottom of each screen, one line tells you what to do next.
-
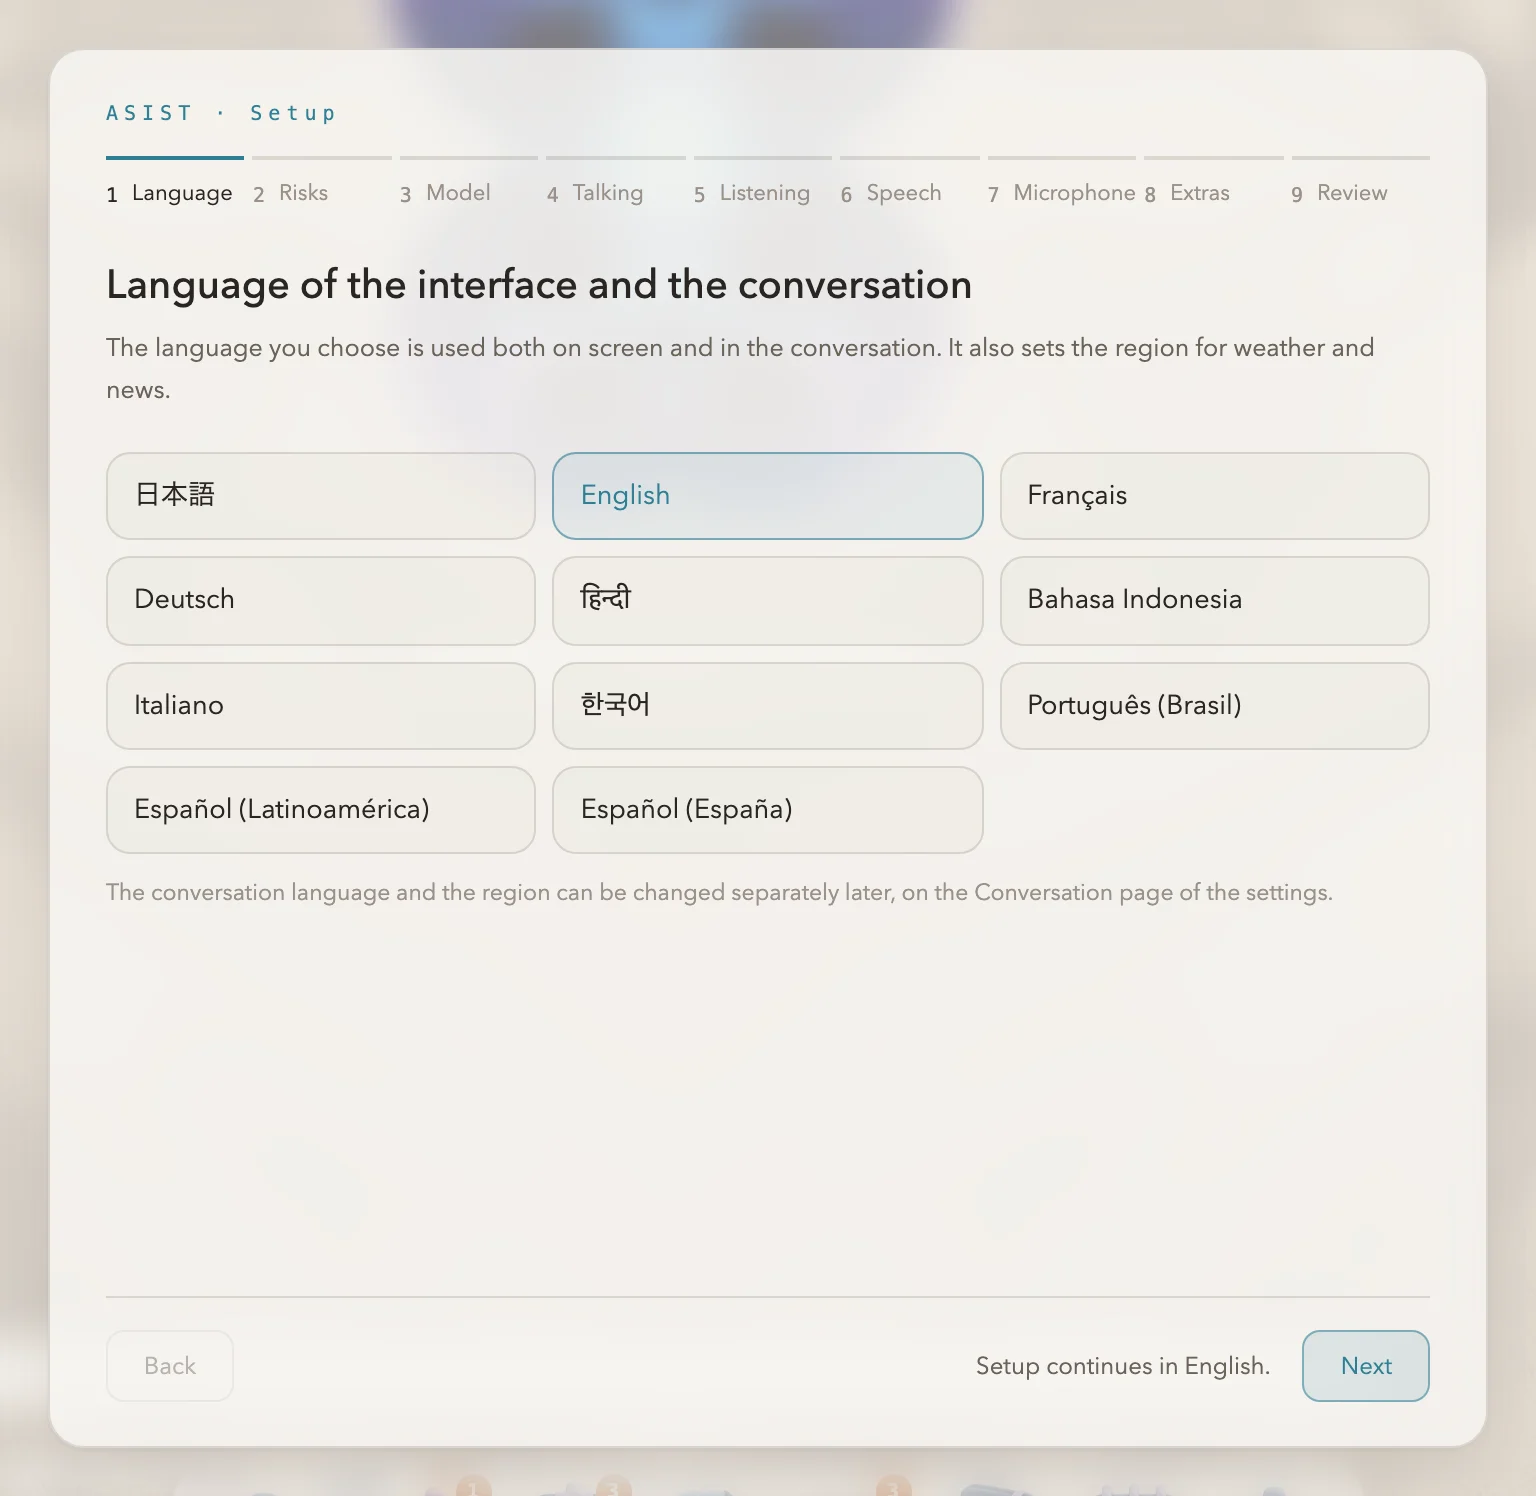
Choose a language
Choose one of 11 languages. Your system language is selected at first. The language you choose becomes the starting value for three things: the language of the interface, the language of the conversation, and the region. The screens that follow appear in that language. You can change each of the three separately in the settings later.
-
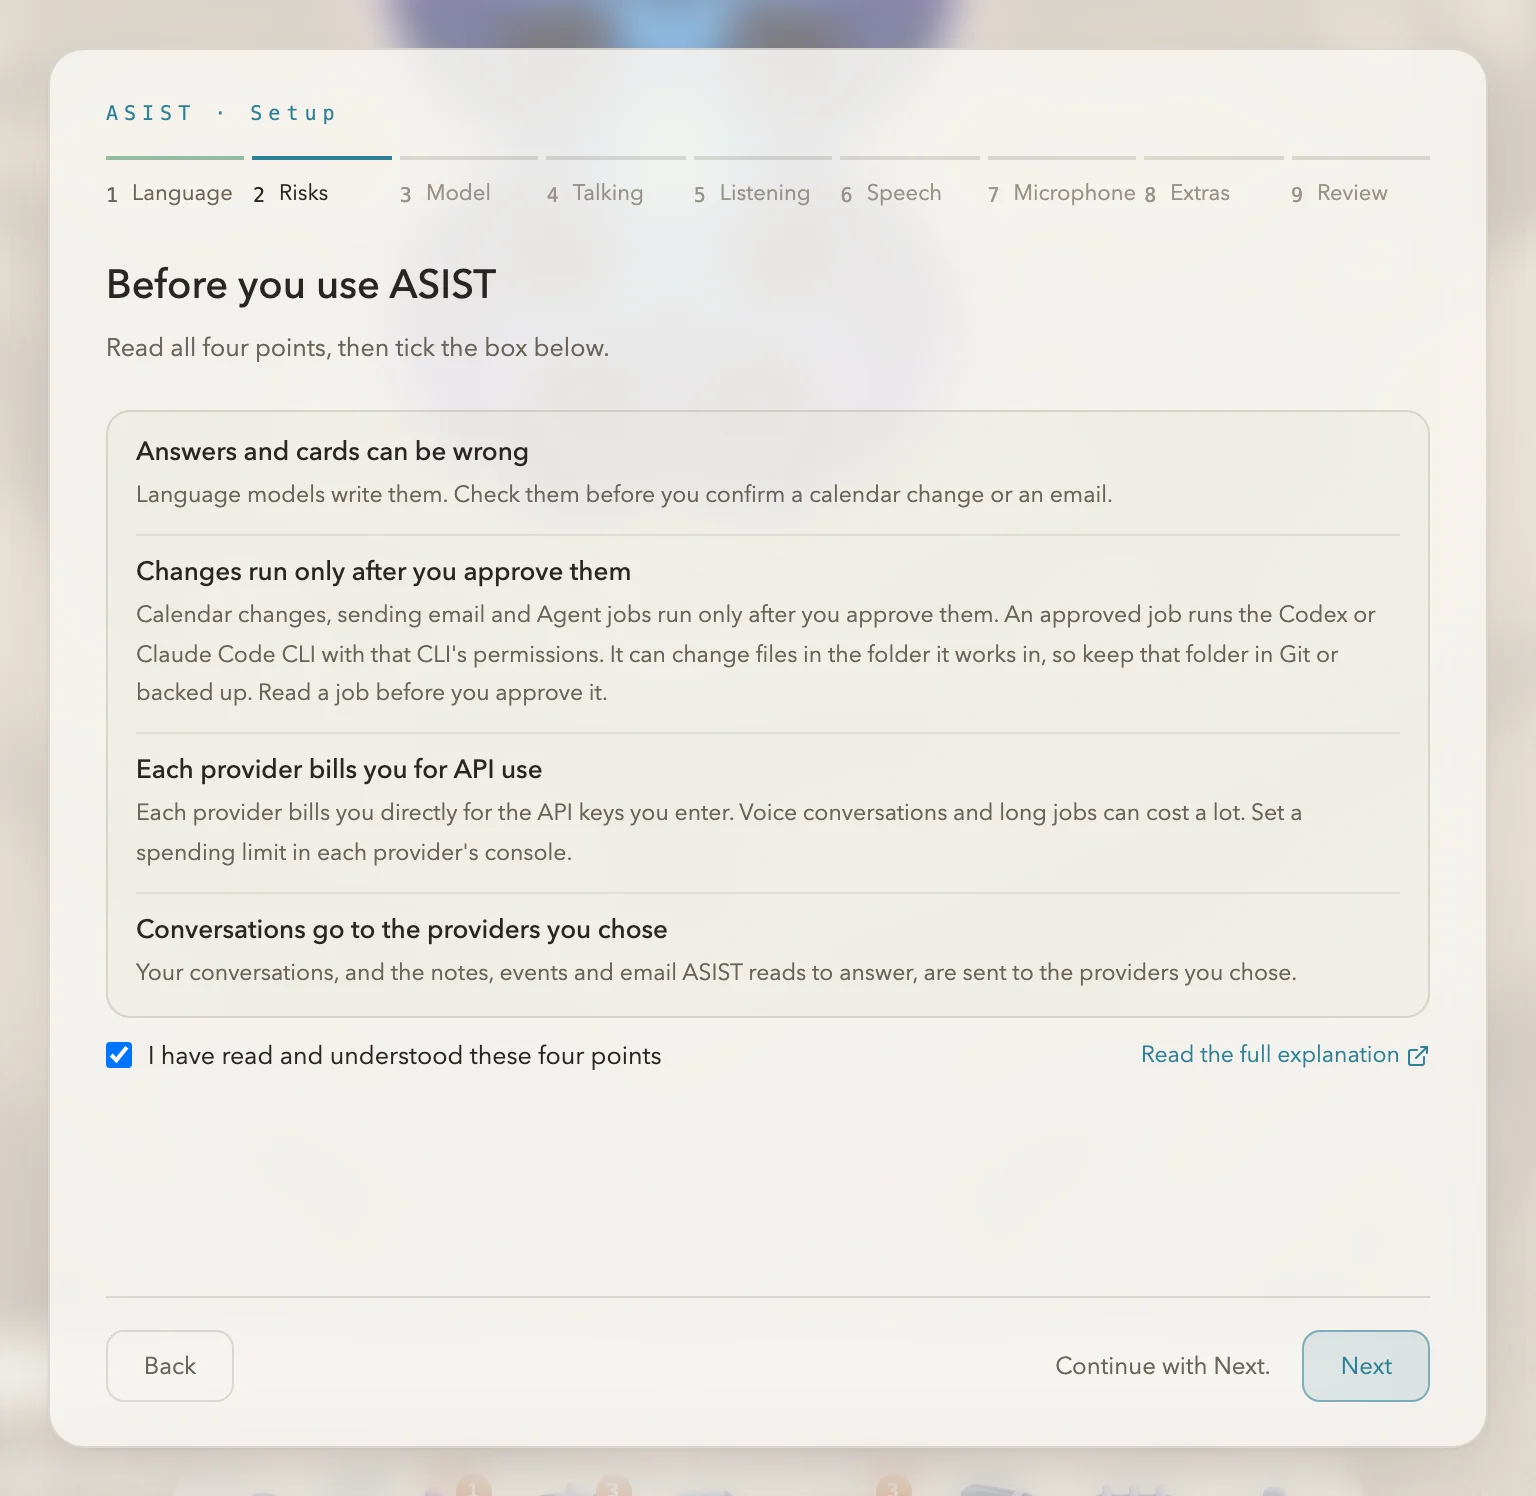
Read what to know before you use it
Four points appear: answers can be wrong, changes happen only after you approve them, each provider bills you for API use, and the conversation goes to the providers you chose. Once you have read them, tick “I have read and understood these four points” to go on. Using ASIST safely explains them in full. If you finished the setup before this screen existed, the same points appear once the next time you open ASIST.
-
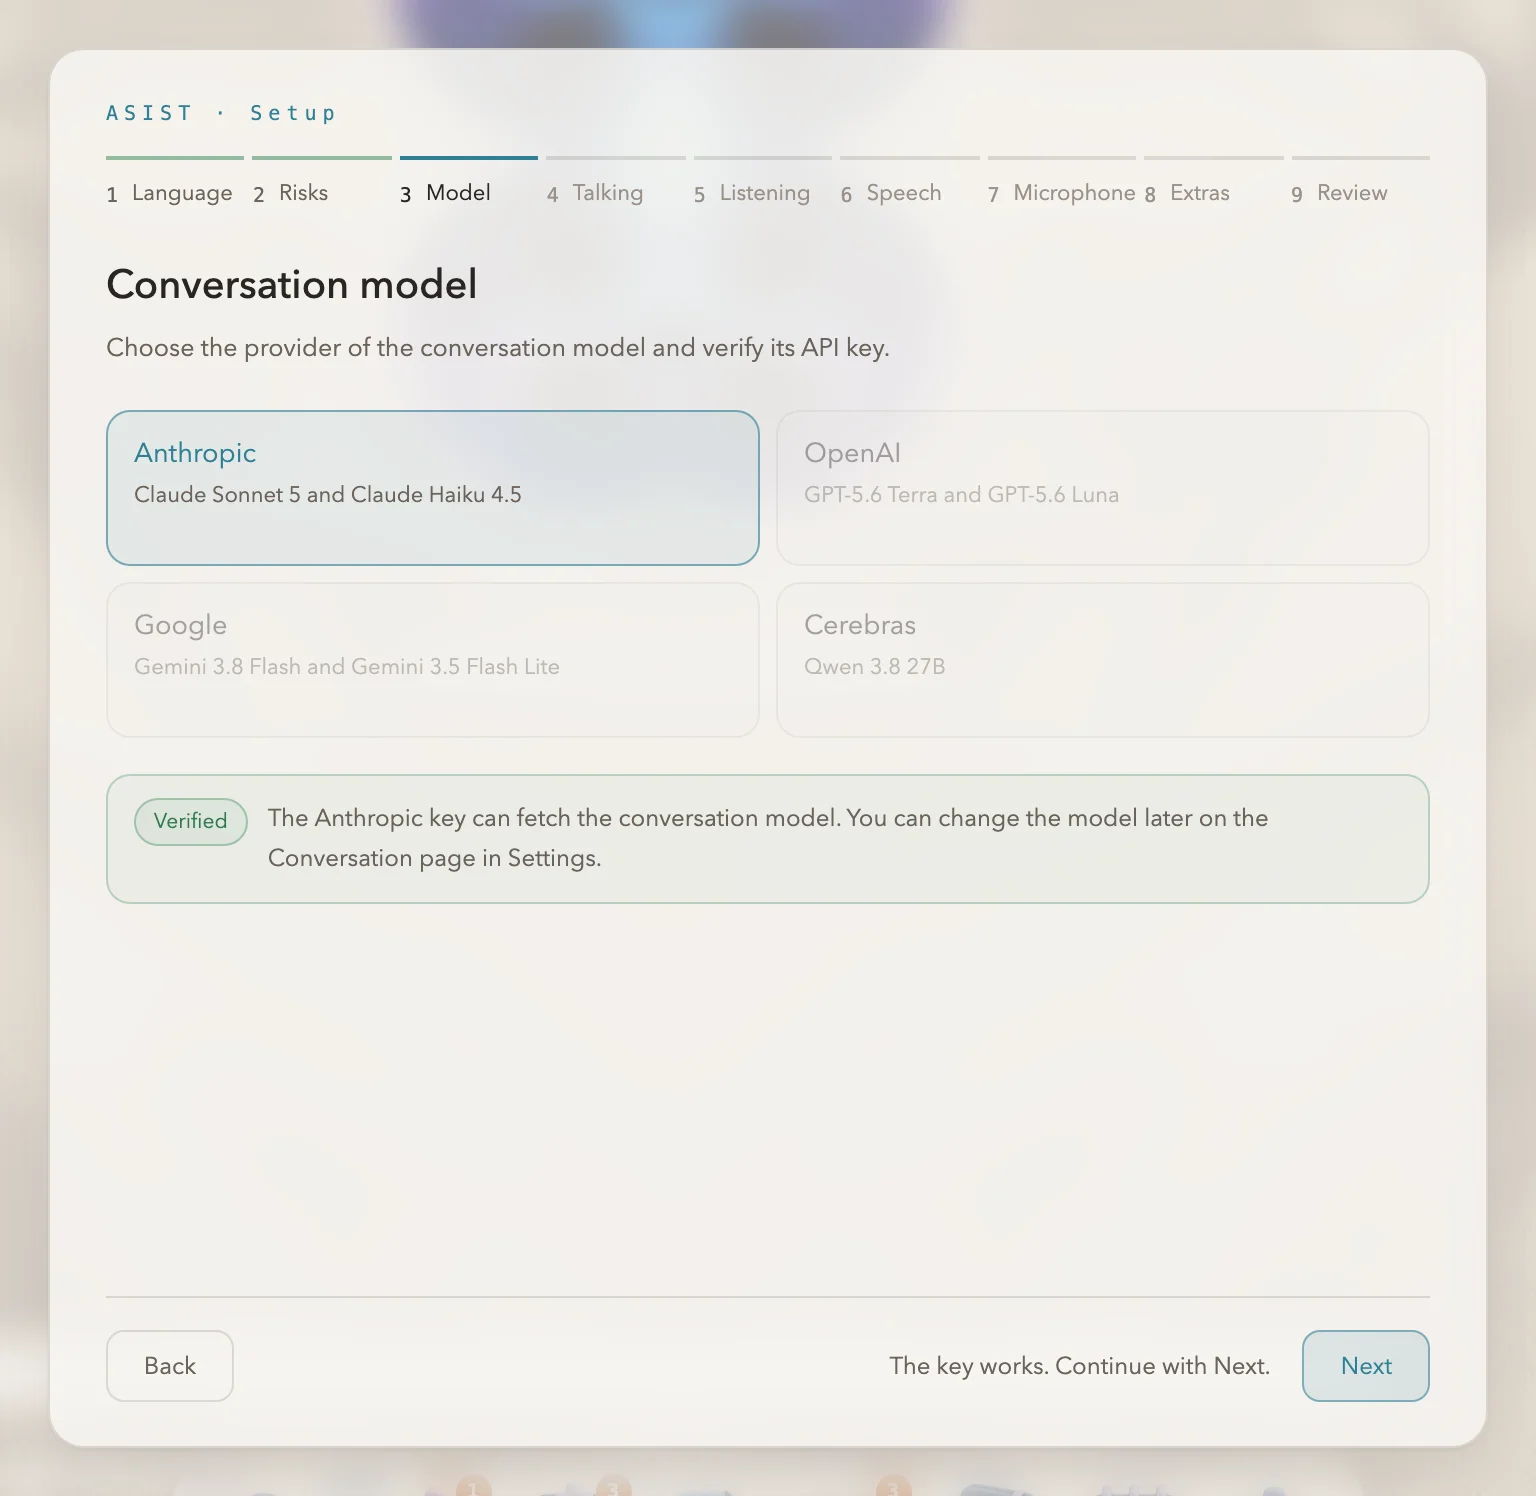
Enter an API key for the conversation model
Choose a provider, enter your API key and click “Verify and save”. ASIST checks the key by actually sending a request, and saves it only when it works. The conversation uses the provider’s standard model, and the bridge phrase uses a light, fast model. You can change both in the settings later.
-
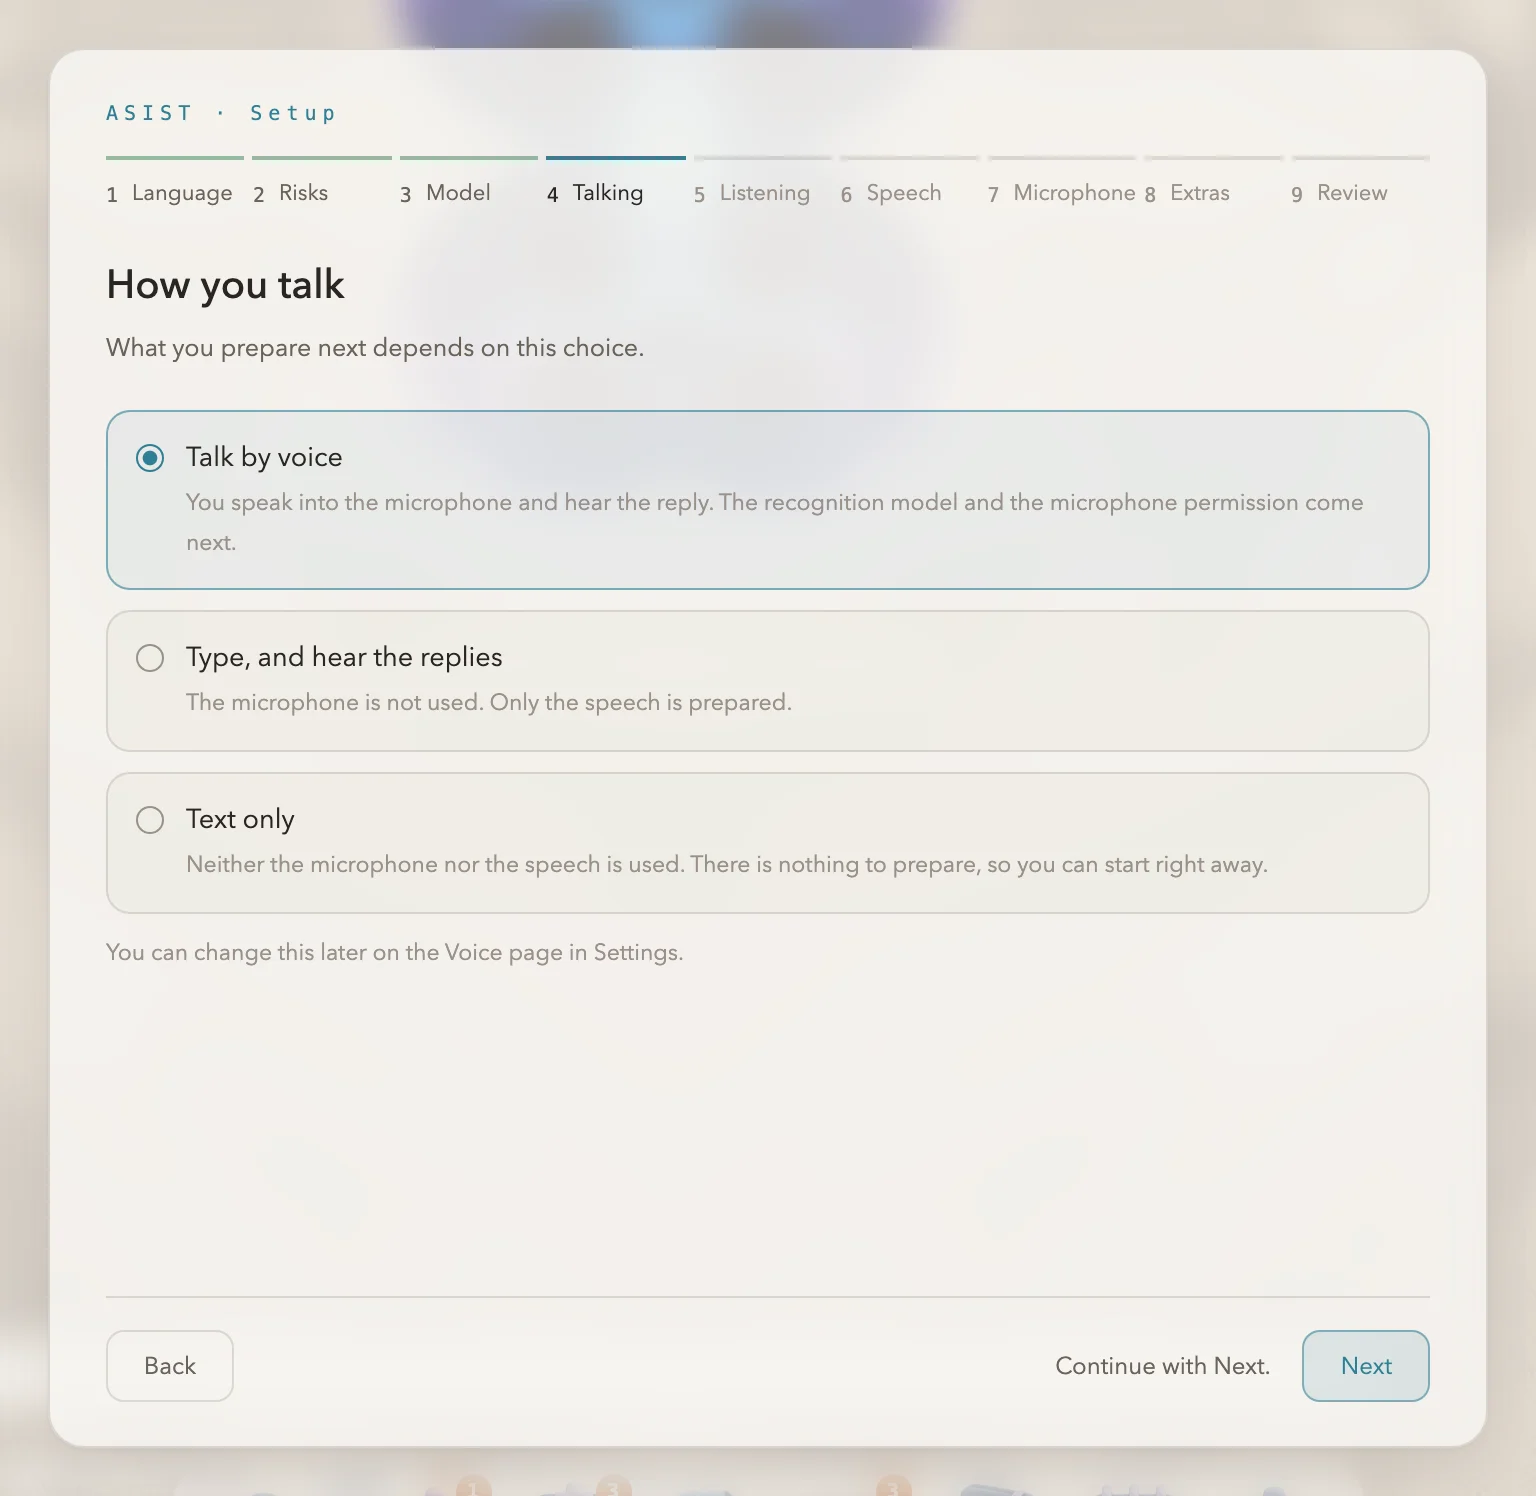
Choose how you talk
Choose “Talk by voice”, “Type, and hear the replies” or “Text only”.
-
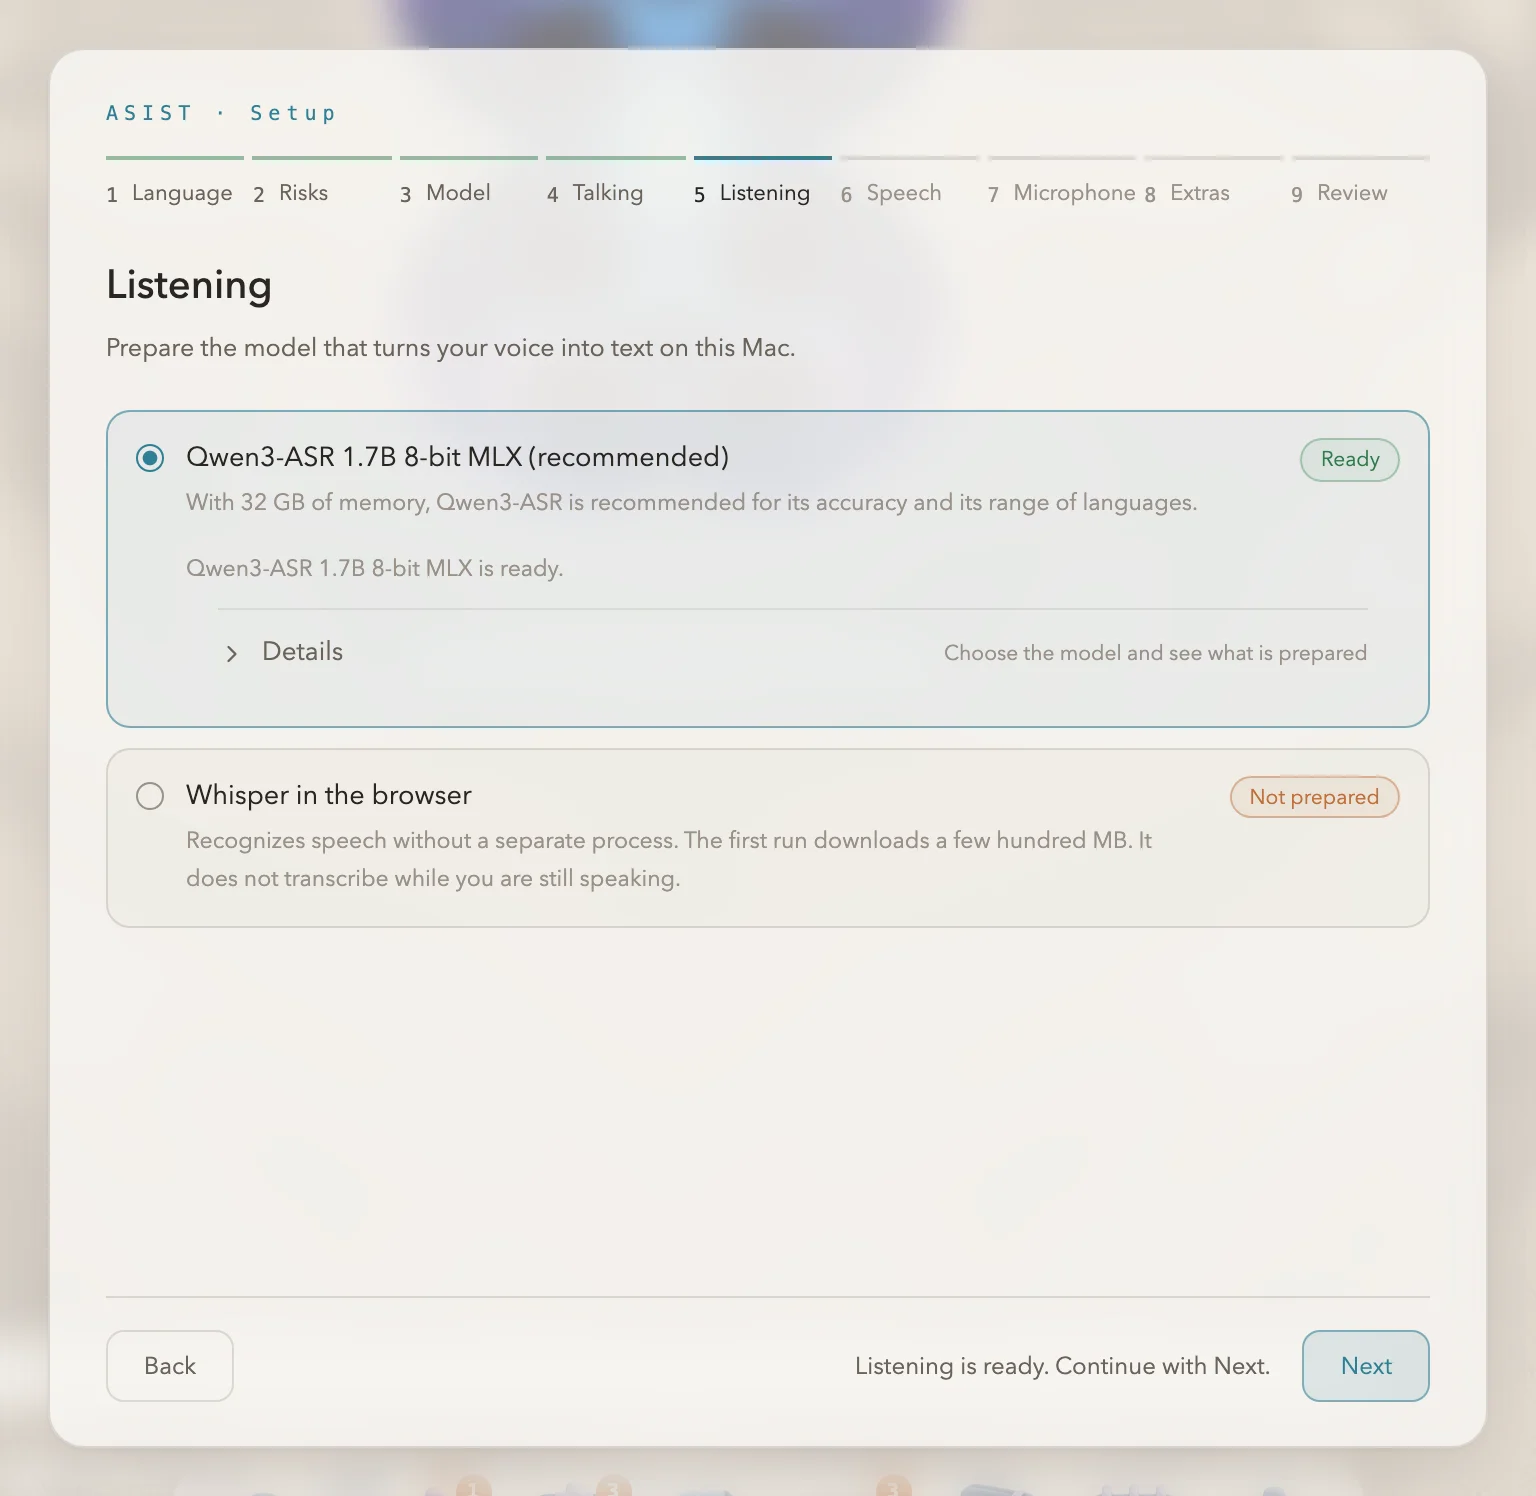
Prepare the speech recognition model (when you talk by voice)
Depending on how much memory your Mac has, ASIST recommends Qwen3-ASR or Whisper running on MLX. Click “Prepare the model” to download the model and run it on your Mac. You can also choose Whisper running inside the browser.
-
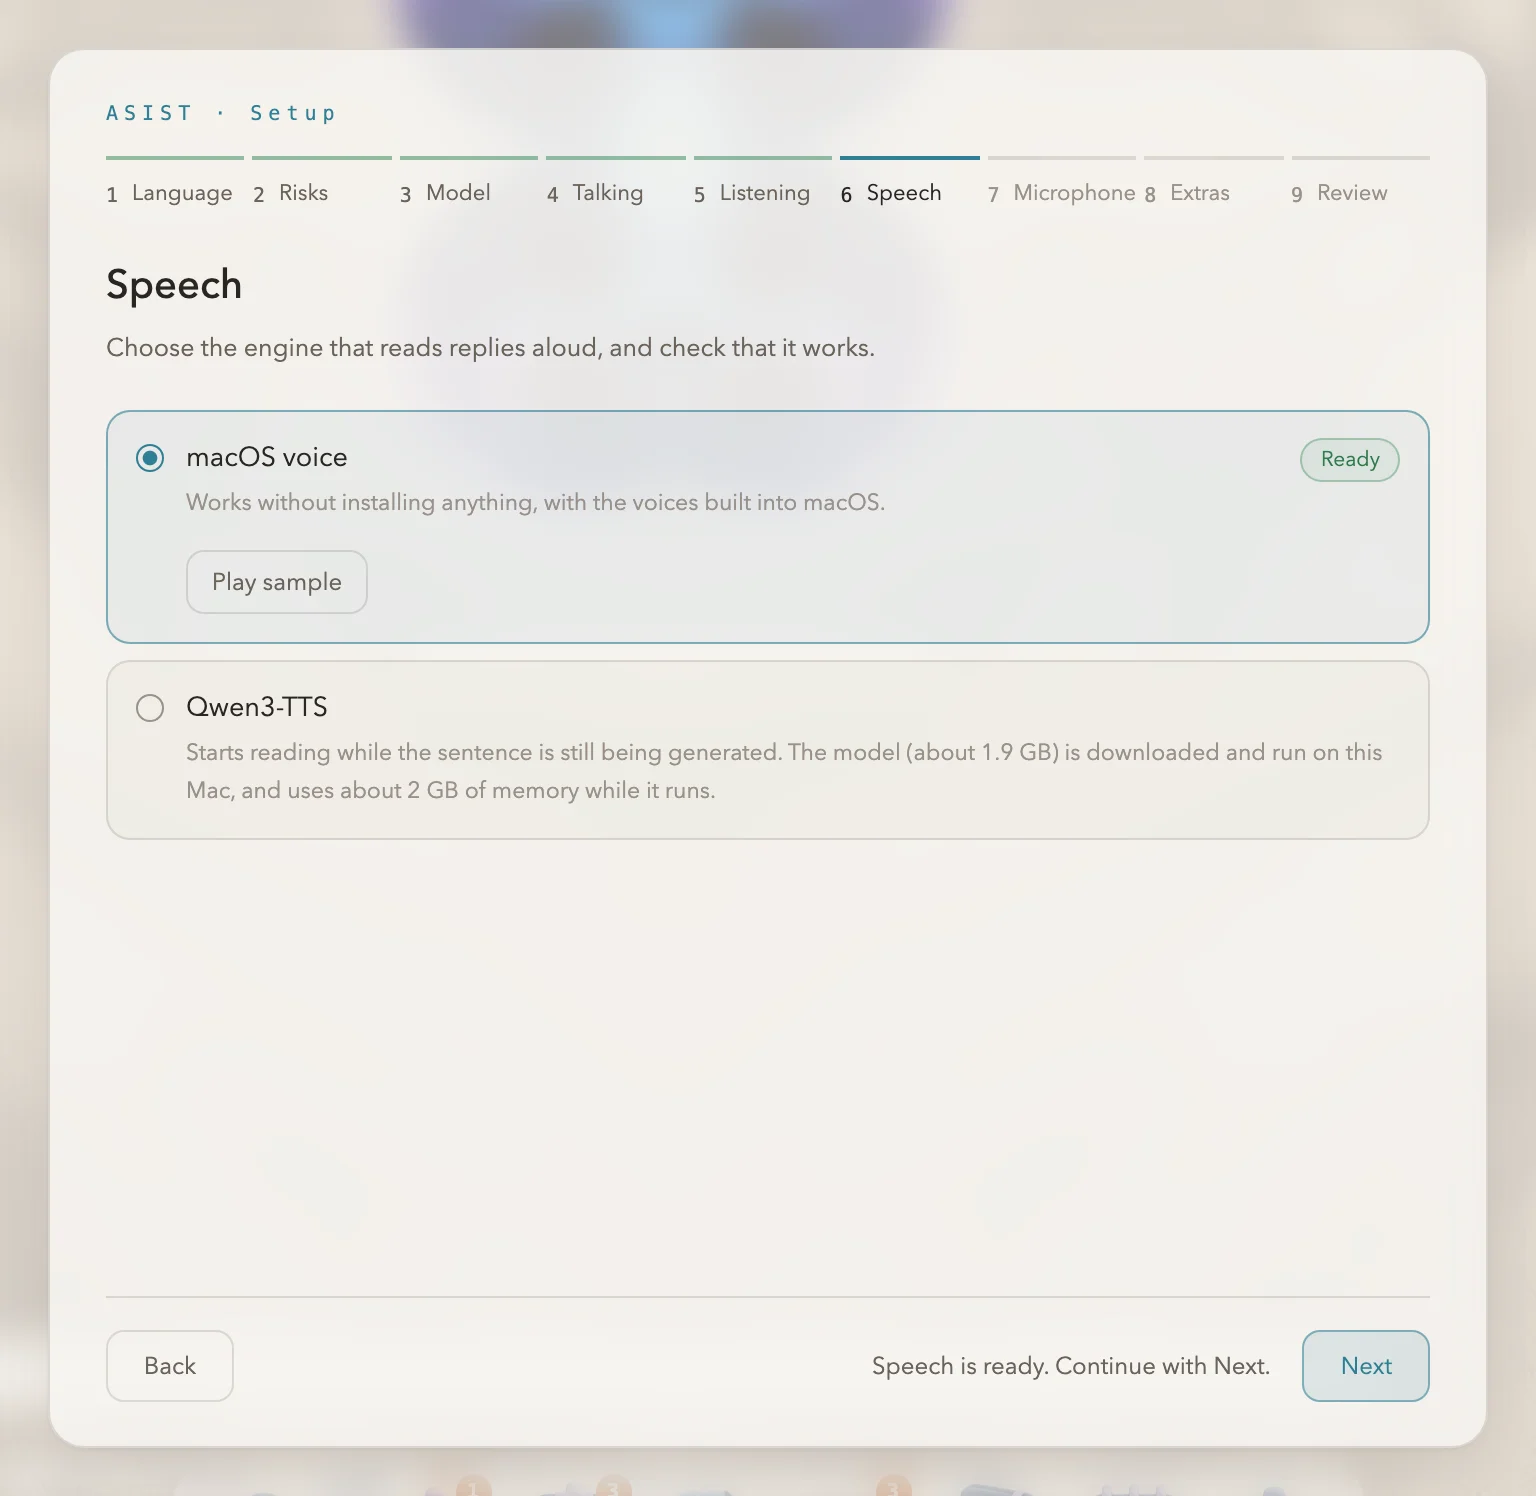
Choose a voice for reading aloud (when you hear the replies)
Only the options that can speak the conversation language appear. For Japanese, these are the macOS voices, Qwen3-TTS, VOICEVOX and AivisSpeech. You can choose Qwen3-TTS with 16 GB of memory or more; it downloads a model (about 1.9 GB) and runs it on your Mac. If you choose a macOS voice, ASIST checks whether a voice for that language is installed, and if not, shows you where in System Settings to add one.
-
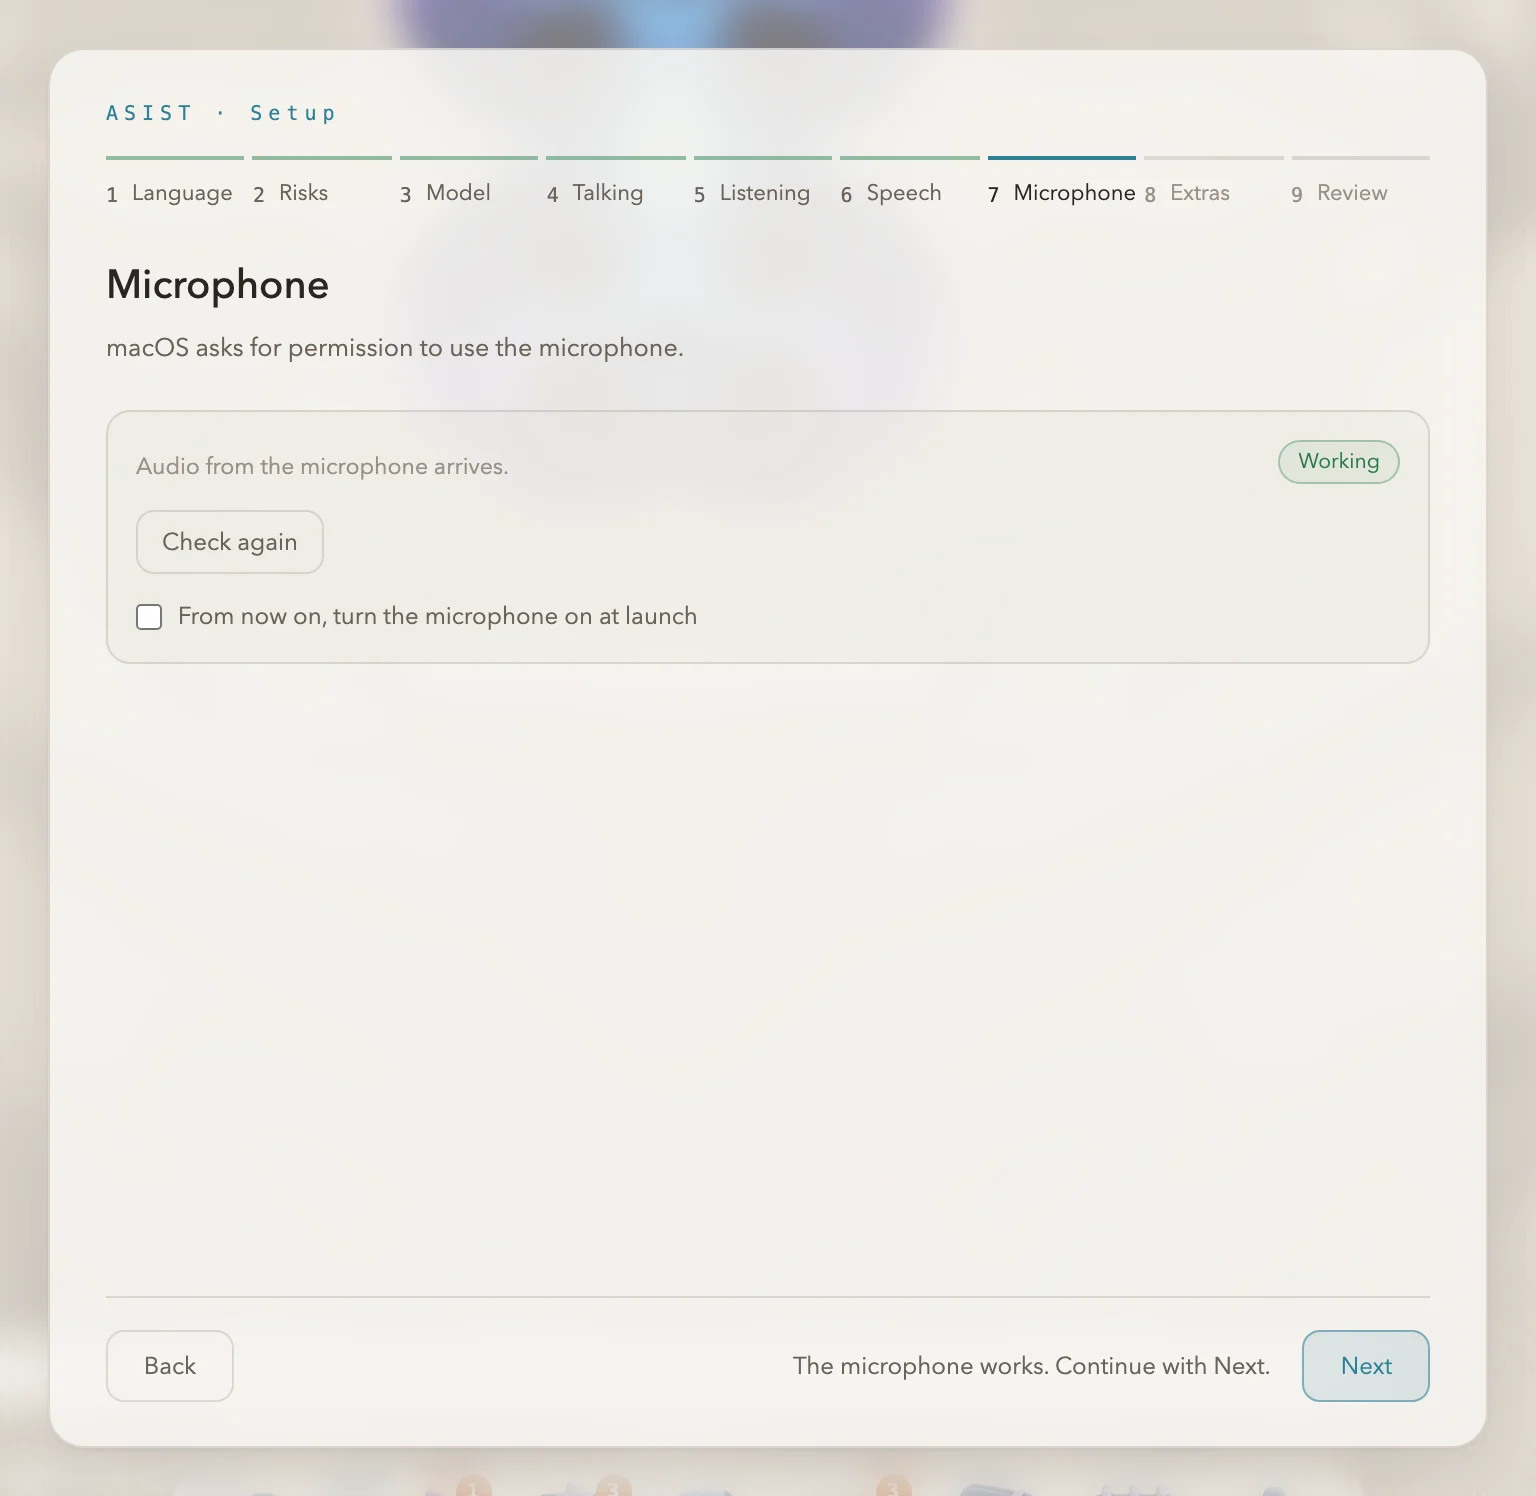
Allow the microphone (when you talk by voice)
Click “Check the microphone”, and macOS asks for permission to use the microphone. Click “Allow”, and ASIST checks that it actually receives sound.
-
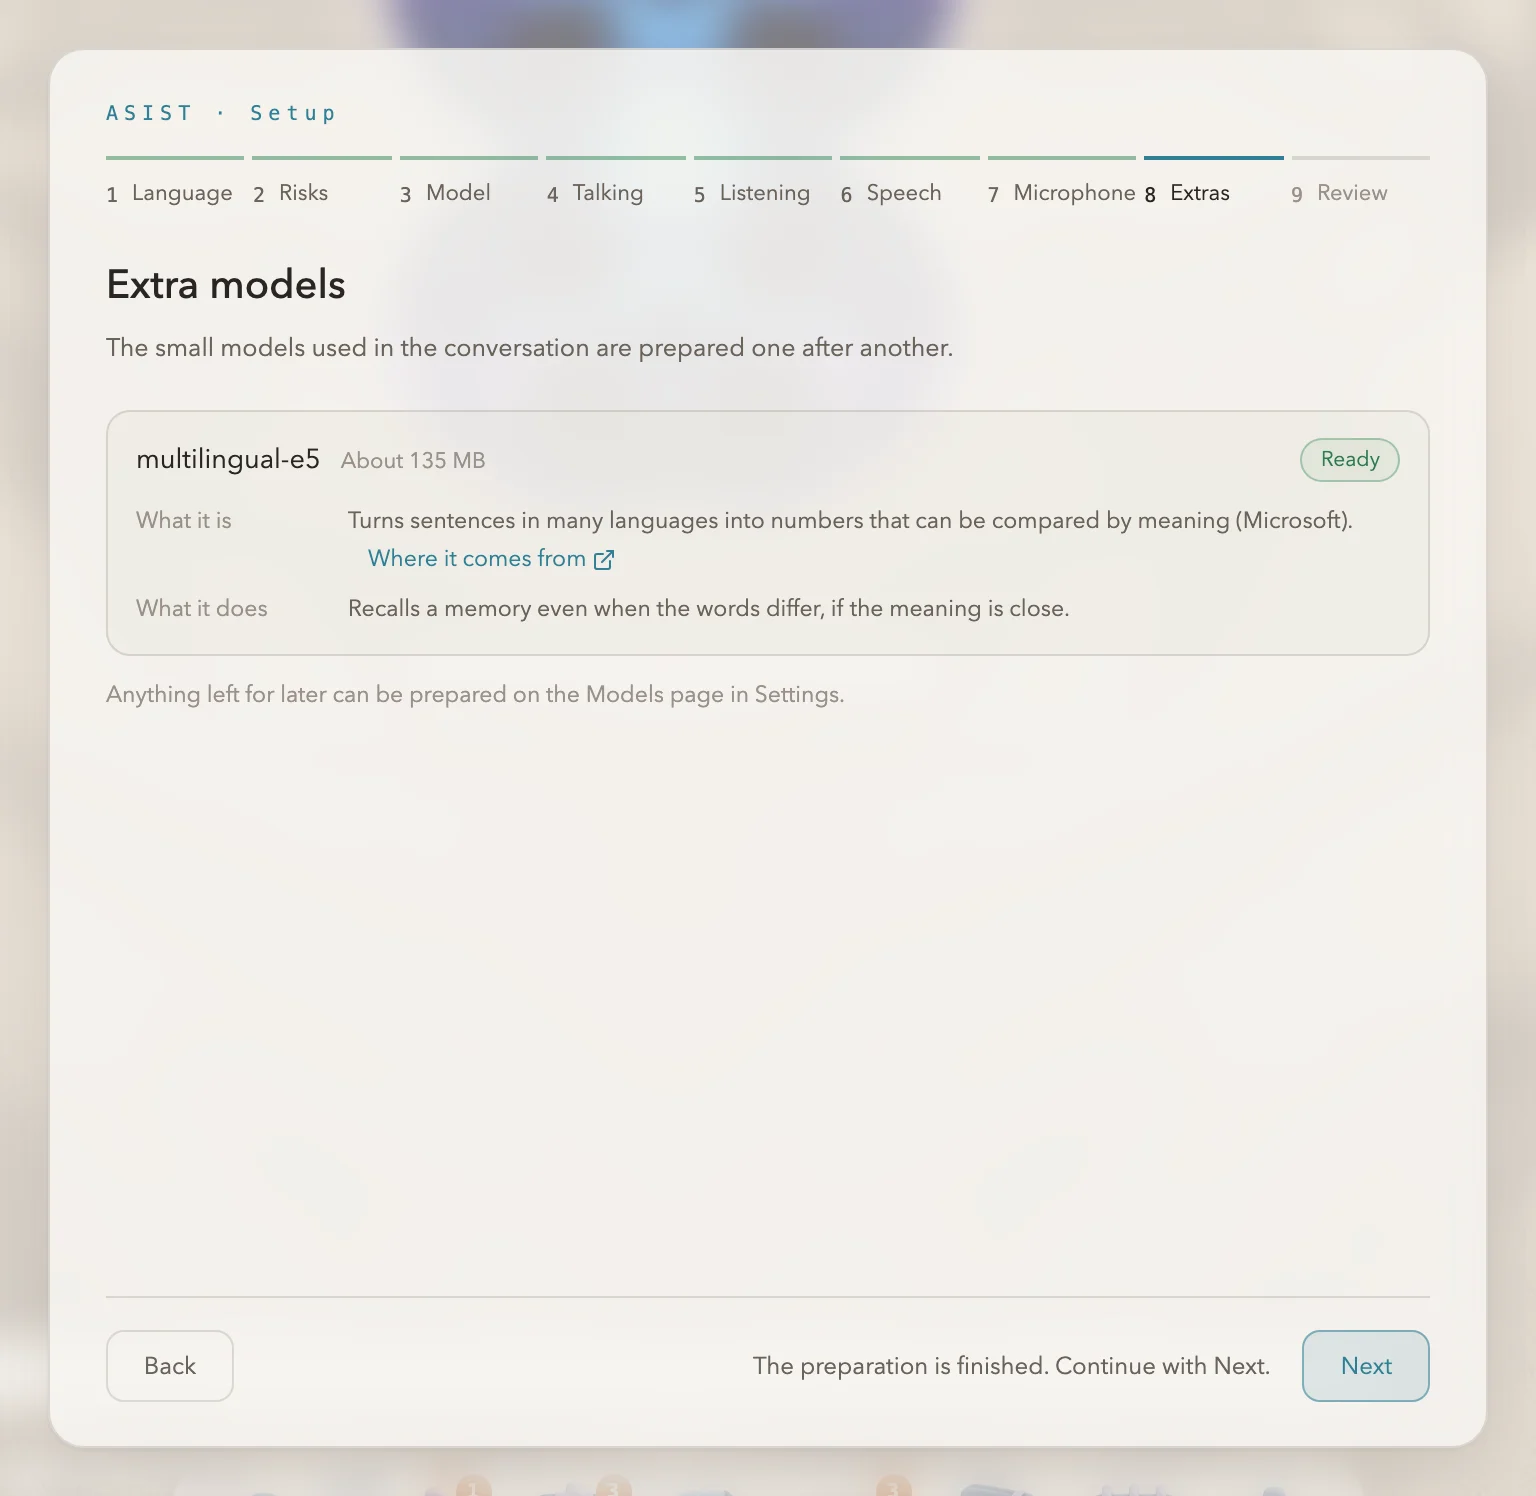
Wait for the other models
ASIST prepares the model for searching the memory by meaning. When you talk by voice in Japanese, it also prepares a model that chooses which backchannel to say, and MaAI, which detects when you have finished speaking. For anything that could not be prepared, you can try again or leave it for later. Anything you leave for later is prepared under “Models” in the settings.
-
Review and start
Look over your choices and click “Start with these settings”.
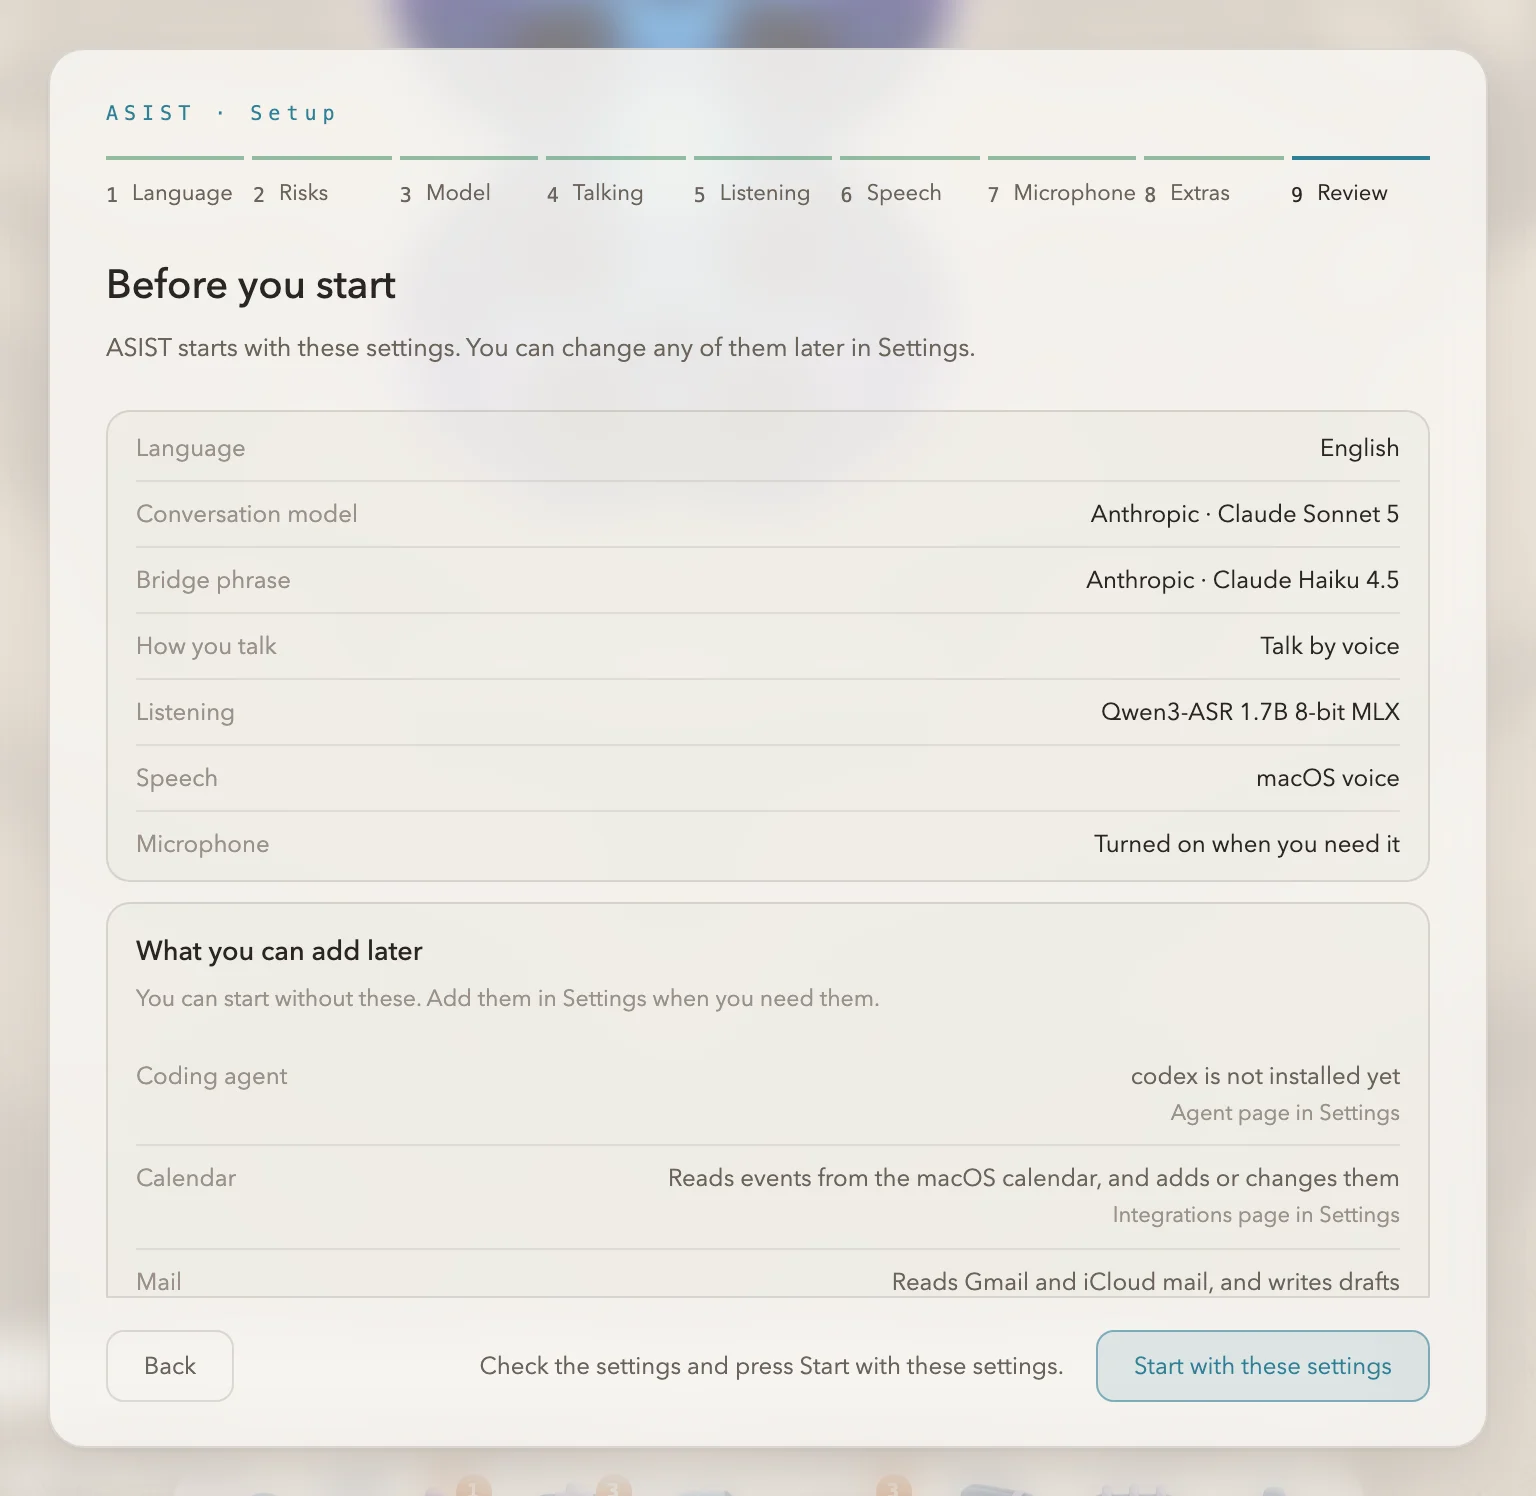
Once ASIST starts, click MIC OFF and talk, or type in the input box and send. How to talk to ASIST is covered in Using ASIST.
If you want to use Agent jobs, set up the Agent CLI next.